How to Grow Wheatgrass Microgreens in 6 Easy Steps
Growing wheatgrass for juicing is quick and easy, and packed with nutrients. Kevin Espiritu takes you through the steps to get it done just right.

Contents
For a while, I thought wheatgrass was one of those ‘health foods’ that people raved about just because they thought they were being healthy. Who wants to eat a blade of grass?
But after I realized just how easy to grow it is and that it legitimately has some nutritional benefits, I changed my opinion on it. Sure, it’s not the panacea that some people think it is, but it’s cheap and simple to grow. Also, it’s a great addition to any juice I make.
Wheatgrass juice contains high quantities of vitamin E. That particular vitamin is used by our bodies as an antioxidant and boosts the immune system, helping us to fight off the common cold or flu. Otherwise, it’s comparable or lower in nutrient content than most other leafy greens. You’ll find more iron, potassium, magnesium, calcium, and vitamins B and C in green leafy spinach than you will in wheatgrass, although it does contain those in lesser amounts.
Are you ready to start growing wheatgrass, too? Let’s get growing!
What You’ll Need
Realistically, if you have wheat seeds, potting mix, and some well-draining container to put them in, you can grow wheatgrass at home. However, there’s a wide array of alternative growing medium choices available.
Speeding up your germination with the use of certain products can get your grass growing more quickly. Let’s explore the choices you’ll have to make prior to getting started.
Seeds
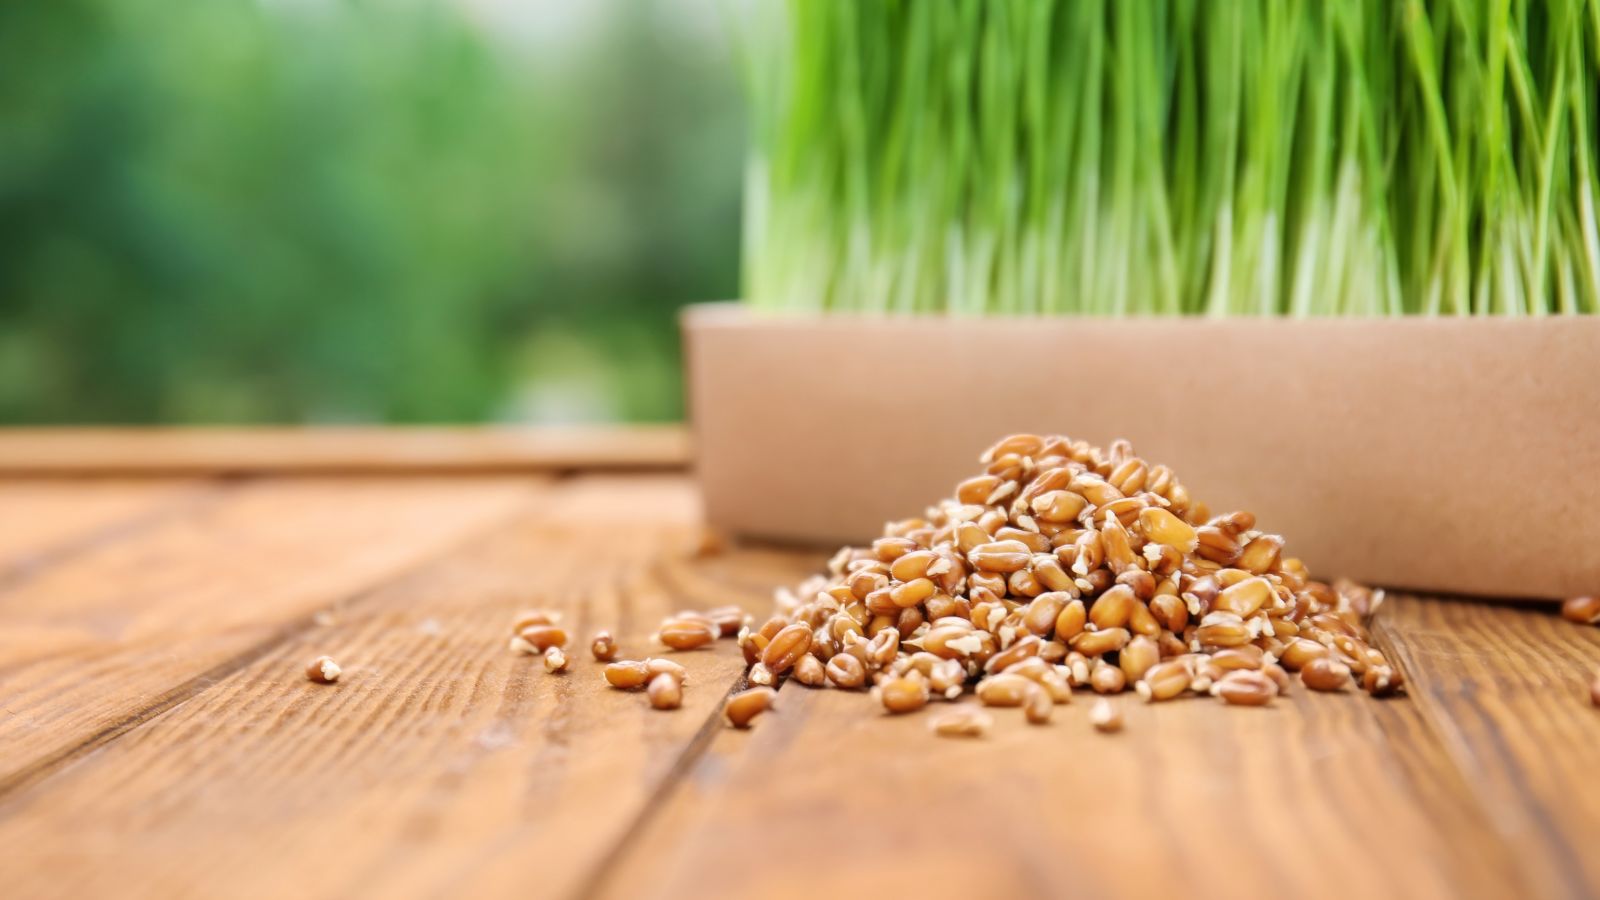
While most varieties of common wheat (Triticum aestivum) can be used for growing wheatgrass, it’s typically the hard winter wheat varieties that are used. Winter wheat requires a period of vernalization to form seed heads, but not to develop the grass itself.
Purchasing seed intended for growing as wheatgrass is generally better, as it tends to have high germination rates. As you need a large amount of seed to start a tray, I recommend buying larger bags of seed so you have enough to work with.
Thankfully, purchasing hard winter wheat such as this organic non-GMO hard red wheatgrass seed is inexpensive.
Containers
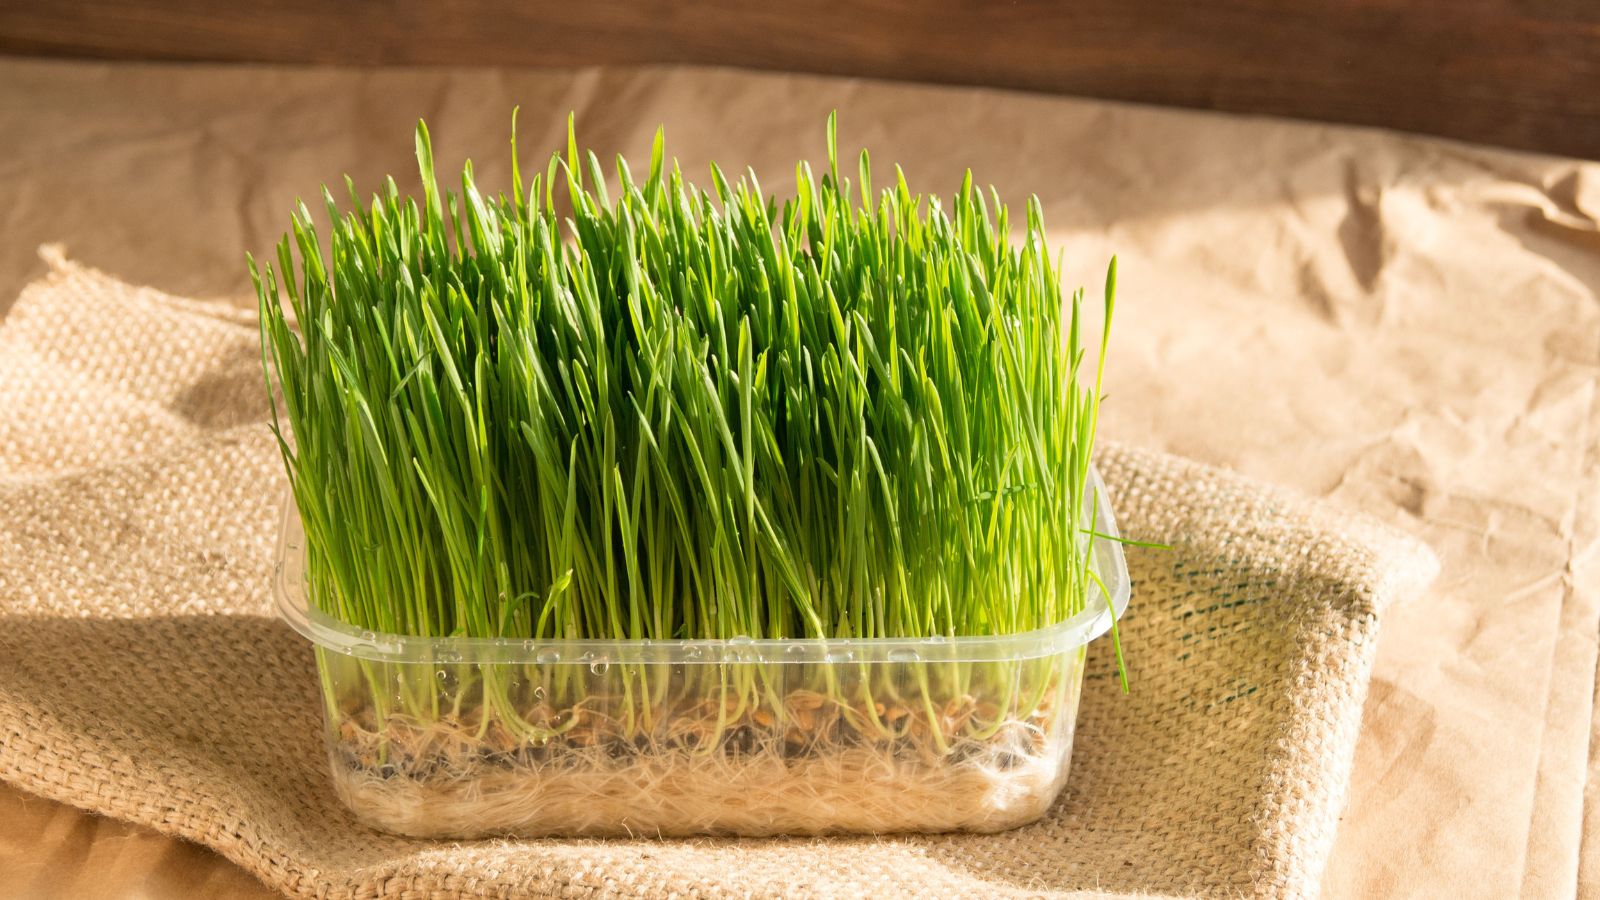
You can use a number of types of containers to grow your wheatgrass indoors. Containers do not need to be very deep, as it doesn’t need a lot of space for root structure. Shallow dishes with a few holes in them will work, as will plastic or terracotta plant trays.
I prefer standard plastic trays with drainage holes, as they provide an ample amount of grass for little effort. It’s important to use trays that have drainage built in. If you opt for an alternate container, be sure you select one that has excellent drainage. This prevents your young grass from drowning or developing mold problems.
Growing Medium

Good, sterile potting soil works just fine, and most of us have some in the shed. It comes packed with nutrients that your grass will use to good benefit.
However, some people like to use the entire young plant, roots and all. That necessitates a lot of extra washing. Your young grasses have all the nutrition they require without any added fertilizers, so other alternatives are useful.
Coconut coir holds more than its own weight in water while still allowing excess moisture to drain. Using a combination of vermiculite and a kelp fertilizer will also provide a good seed-starting medium. Vermiculite is a mineral and thus doesn’t have many plant nutrients, but the kelp will readily supply everything needed for good growth.
Finally, there are various natural fabrics that are perfect for use in growing all types of sprouts, microgreens, and grasses. Natural fabrics like this may require the use of kelp fertilizer to grow a healthy, vigorous crop. Natural fabrics can also reduce the spread of fungal growth.
Grow Lights
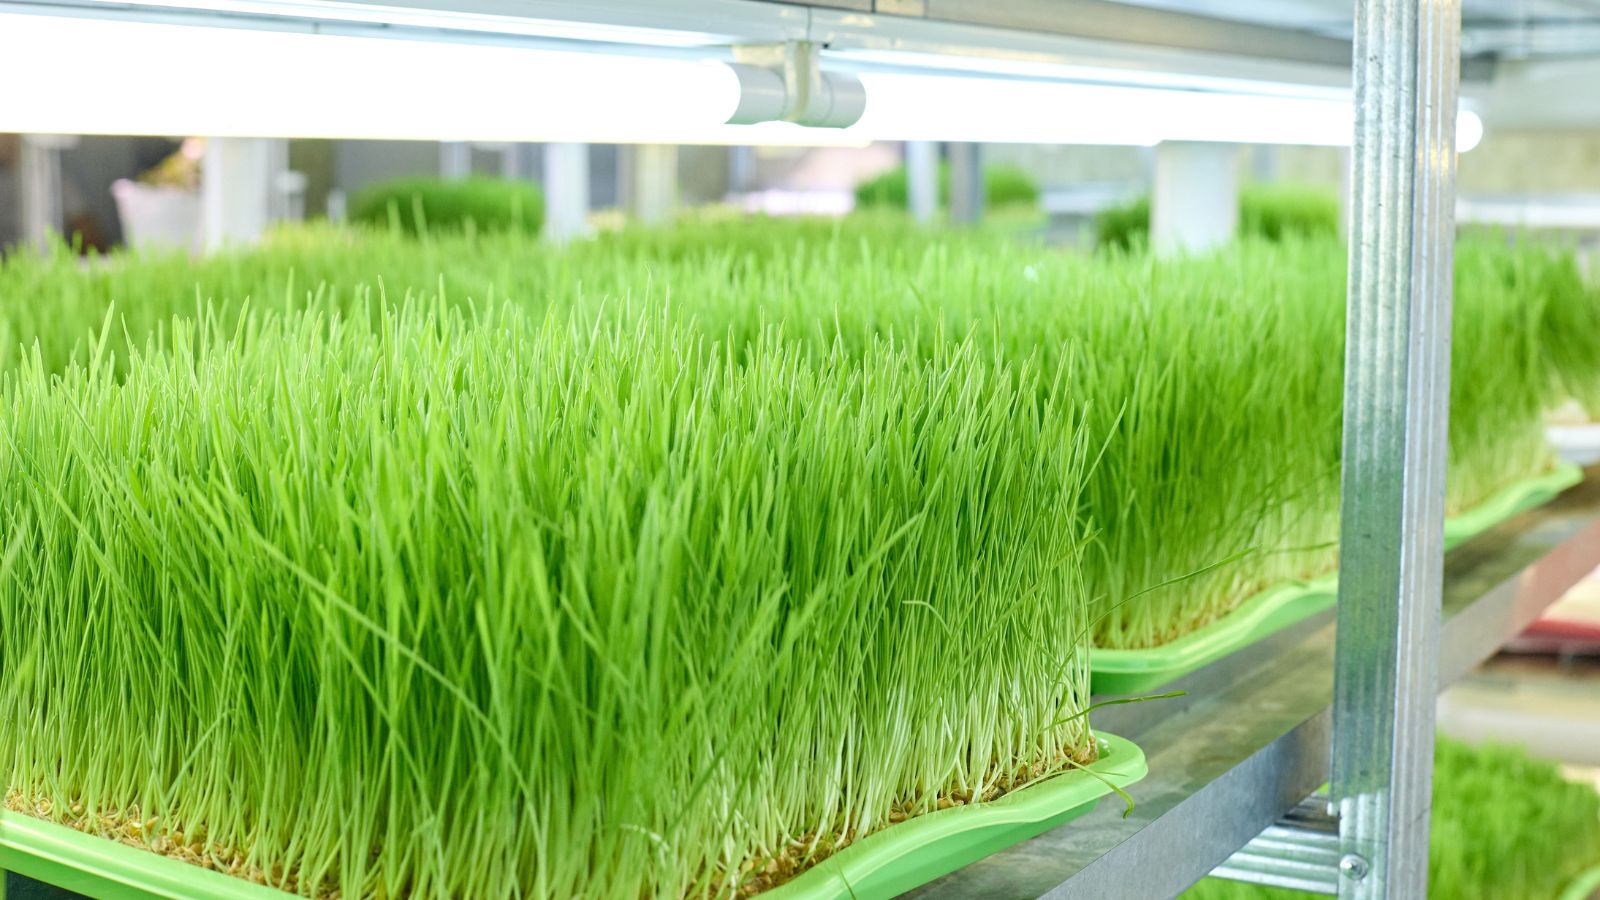
Consistent lighting is best for microgreens and you can’t go wrong with a grow light for growing indoors. Try the Small Epic Seed Starting Grow Light or the Standard Epic Seed Starting Grow Light if you don’t have at home.
Extras
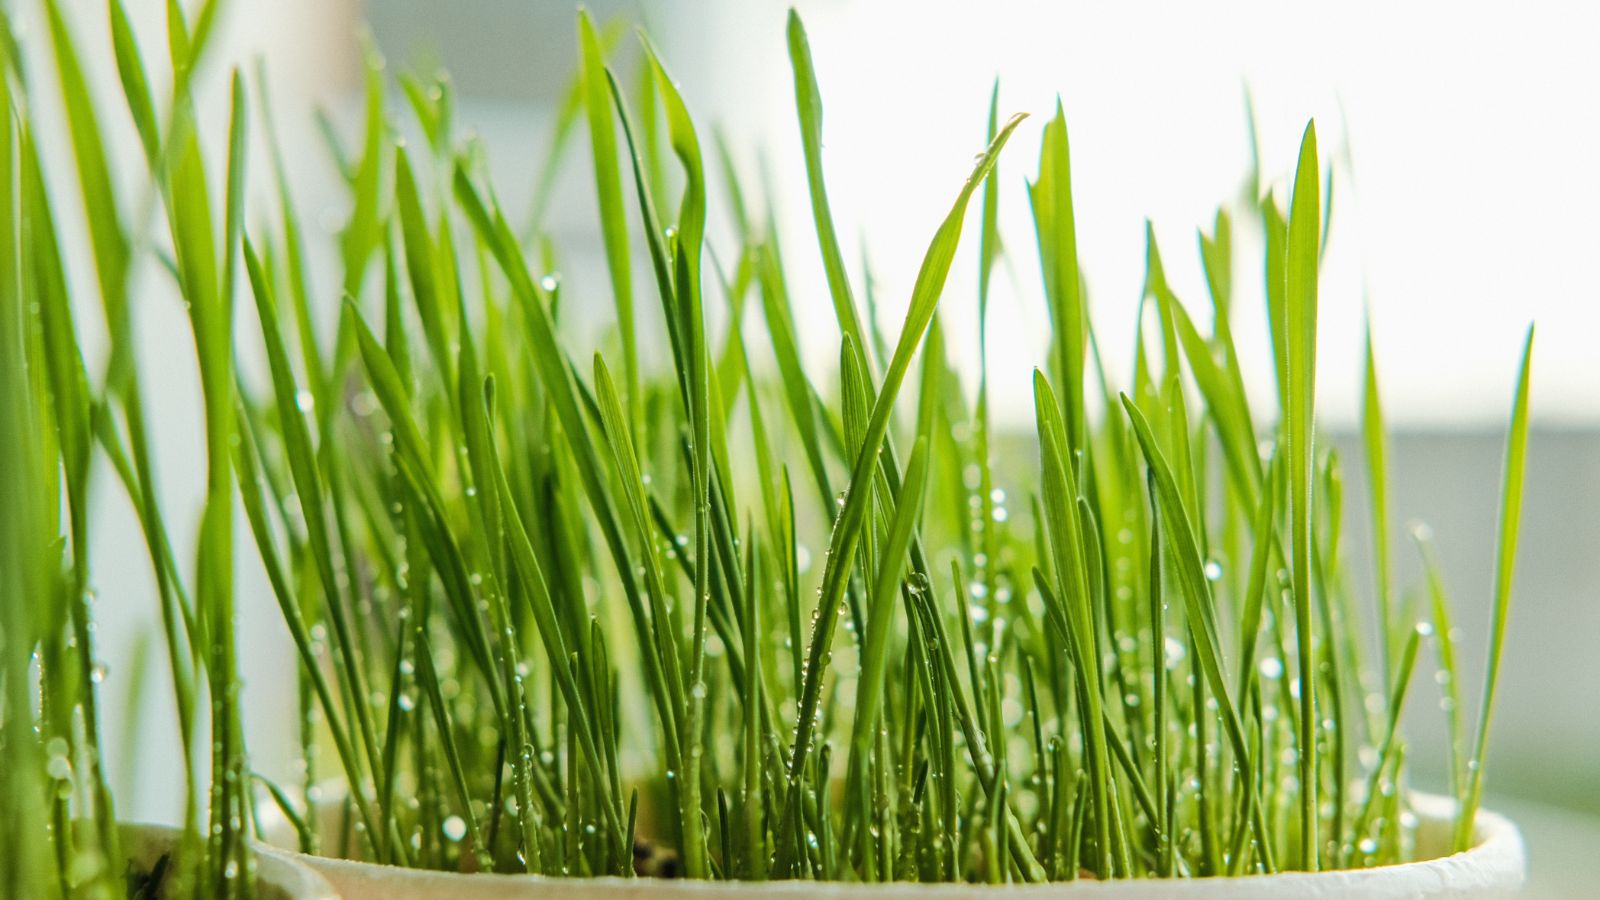
You will need to mist your wheatgrass as it grows to keep it hydrated. Having multiple spray bottles on hand means that you can always have a bottle available with plain water, and another with a blend of kelp fertilizer and water in case you need to kickstart growth.
If it’s winter and you’re growing stuff in the cold garage, you may want a seedling heat mat to bring the temperature of your medium to a good germination point. However, if you’re starting your wheatgrass in the house, the ambient temperature of your house is fine.
You will also need clean scissors or pruners to harvest.
Growing Wheatgrass
Quick-growing crops like wheatgrass aren’t hard to grow, once you’ve learned the basics! A tray of wheatgrass can be grown year-round, so you can start it at any time.
Step 1: Soak
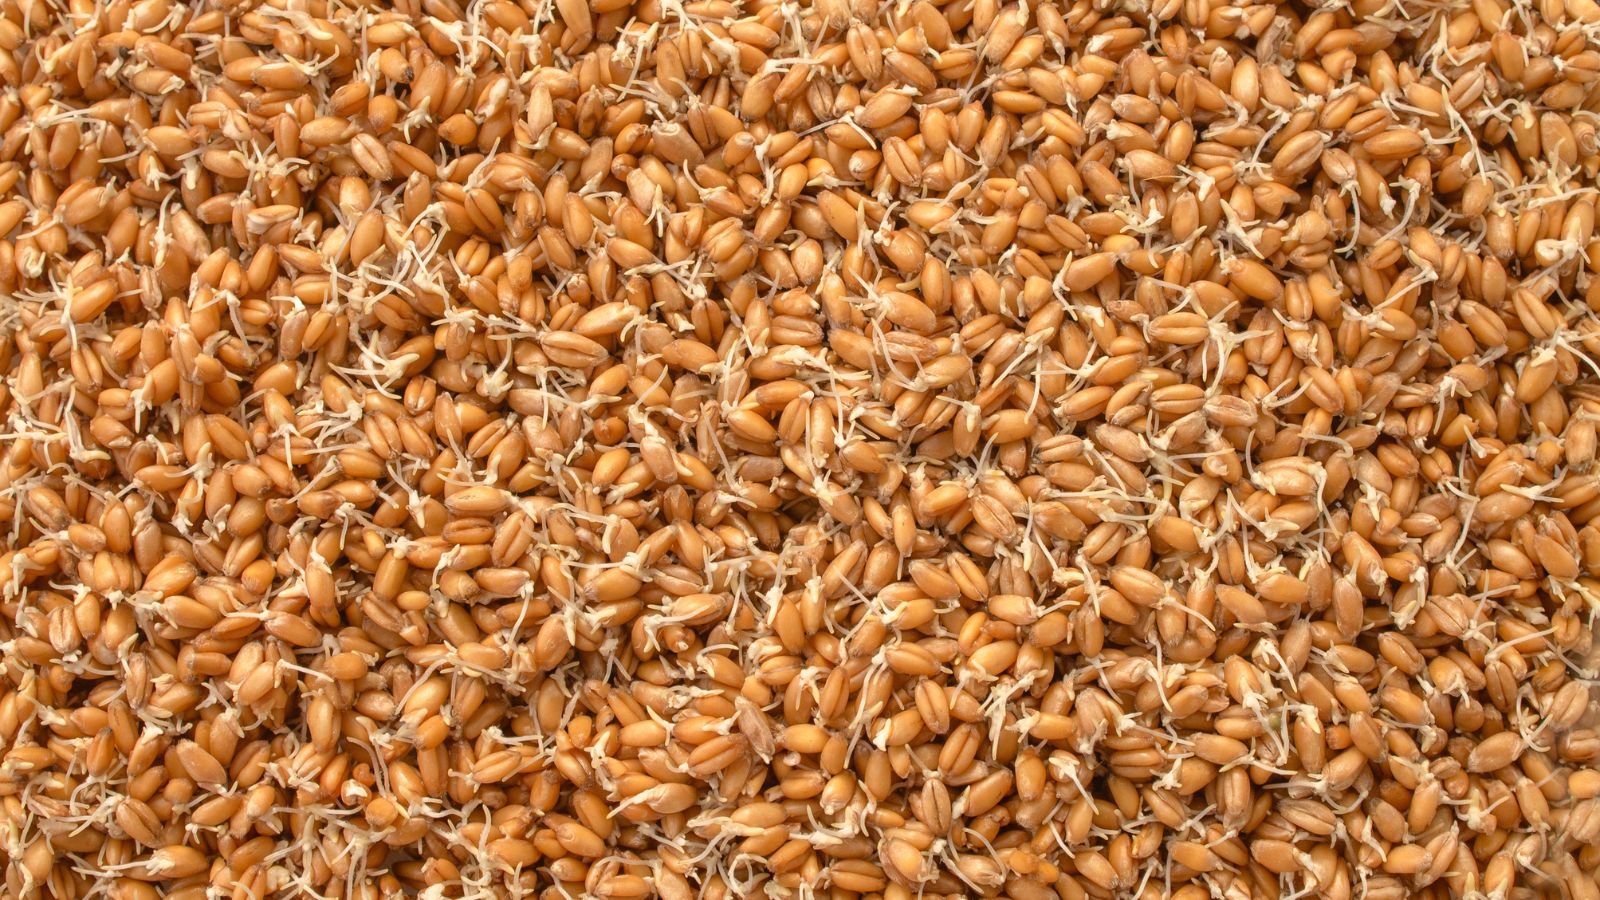
While you can plant directly into trays, you’ll have much better results if you sprout the seed before you plant. It doesn’t take a lot of extra time and makes your harvest much more productive.
Put your seeds into a bowl and add twice to three times as much water. Make sure it’s around 60-70°F (16-21°C) for optimum sprouting. Let the seed soak for 12 hours.
After your seeds have soaked, drain the bowl. You can use the water to water other plants you’re growing, as it’s full of nutrients from the seeds.
Rinse your seeds with more water and drain again. Spread your sprouts on a paper towel on a countertop that’s out of direct sunlight. Repeat the rinse and drain process until you see the beginnings of a root on most (or all) of your sprouts.
Step 2: Plant
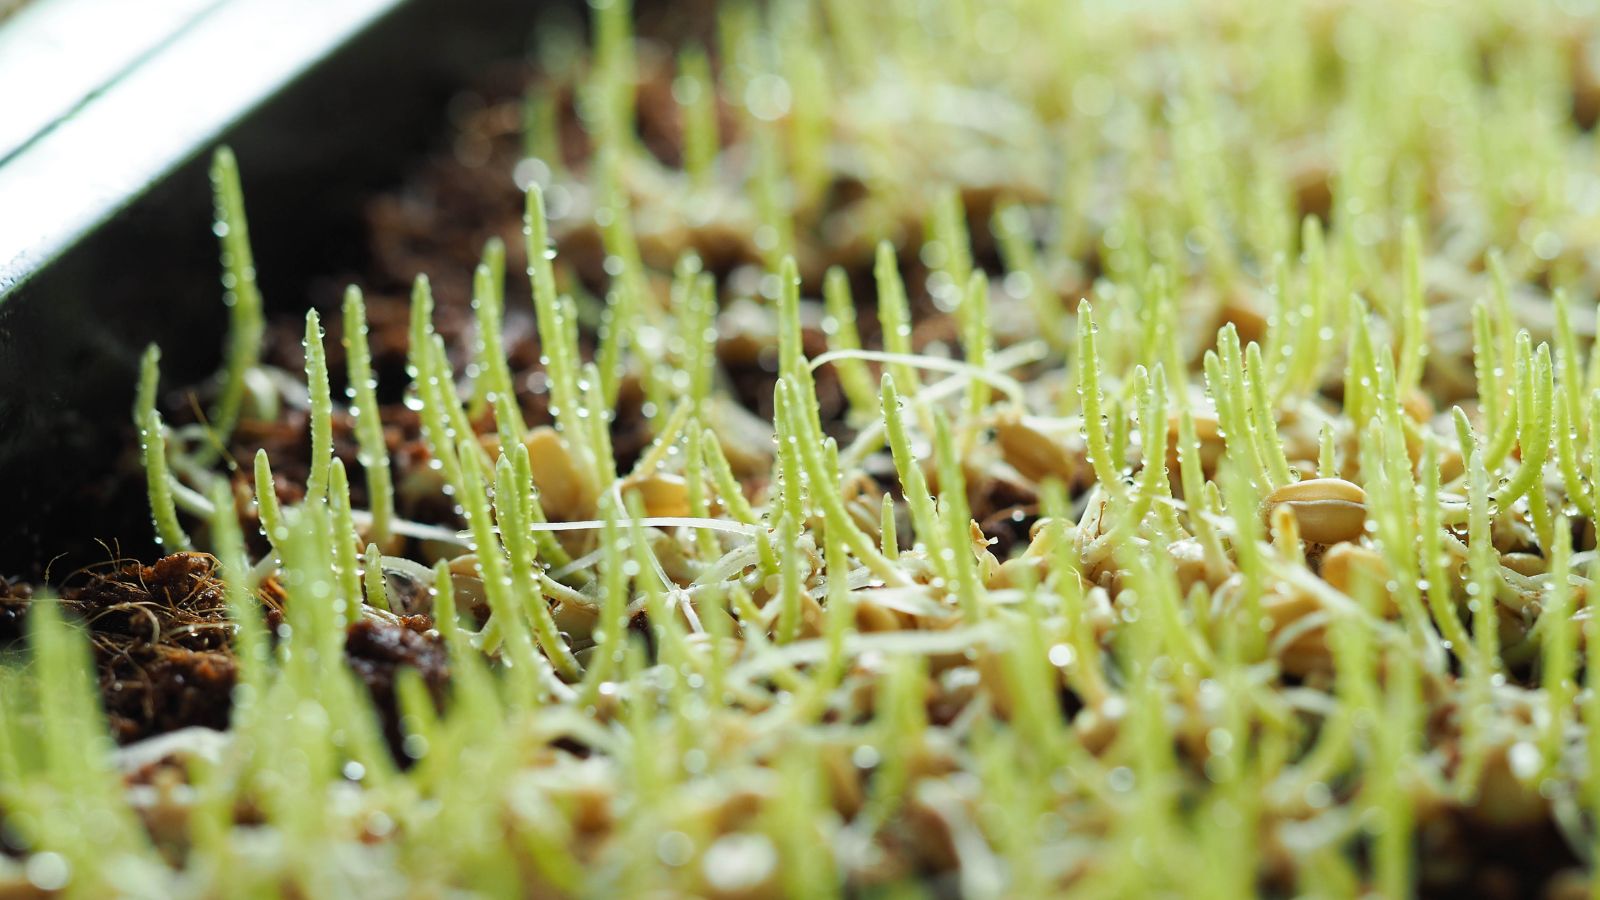
Add potting soil to your planting trays. Moisten it liberally with water, but don’t get it too wet – you don’t want any puddles forming in the medium. Trays don’t have to be full, they just need at least half to one inch of soil in them to provide root space.
Natural fiber growing mats should be cut to fit in your tray and should be moistened as indicated on their packaging. Most of these recommend a short soak in water to hydrate them, but they shouldn’t be too soggy or else they may begin to fall apart.
Spread your seeds evenly across the soil. If you want, you can rinse them one last time before you spread them out to ensure they’re moist and ready to be planted. Most people tend to under-plant at the start, so feel free to spread lots of seed across your tray. It produces a smaller plant than the seed itself.
Step 3: Cover
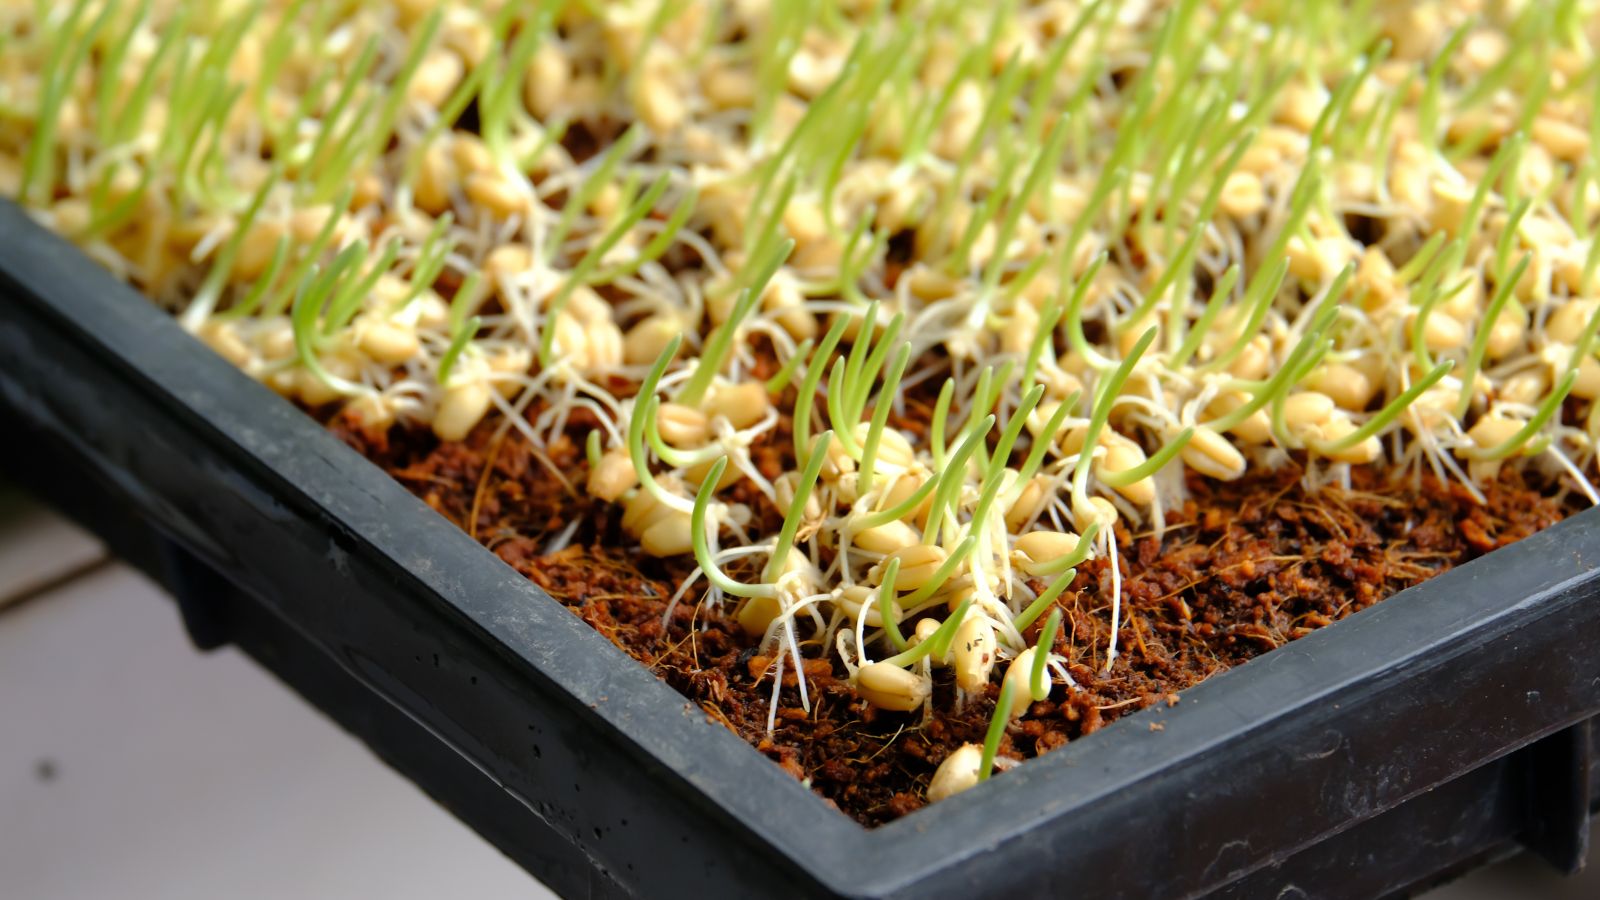
Cover your tray with another tray flipped upside down. This is crucial during the early stages of growth to keep the growing area dark and moist. This tray should also have holes so air can circulate in and out of the cavity. Place your trays in a low-light area at room temperature.
After three to five days, you can remove that cover. At that point, your grass should be about an inch in height. It may look a little pale, but that’s because it hasn’t had regular access to light.
Step 4: Grow

Place your uncovered tray near a window in bright, indirect light. It will begin to green up. If it gets direct sun for short periods of time, that’s fine too. The goal is to encourage that brilliant green hue.
After a couple more days, you can move your tray to a location where it gets direct sun for much of the day. However, it might need more water at that point, so check your growing medium regularly.
When starting your crop, you want the temperatures to be between 60-75°F (16-24°C). That makes growing it indoors your best option, as you can maintain the optimal range. Once your young grass has reached a quarter to half an inch in height, it can tolerate lower or hotter temperatures, provided that its roots stay comfortable.
If the temperature is over 80°F (27°C), be sure that any covered wheatgrass trays have adequate ventilation to prevent mold or fungal growth.
Water lightly twice a day using a misting bottle. Once they’ve set their roots down, you want to keep the potting medium or growing medium moist, but not wet.
If you want to boost the growth of your wheatgrass, you can dilute some liquid kelp in the spray bottle you’re using to water with. You shouldn’t have to use this every time you water, but it can definitely push up the growth!
Step 5: Harvest
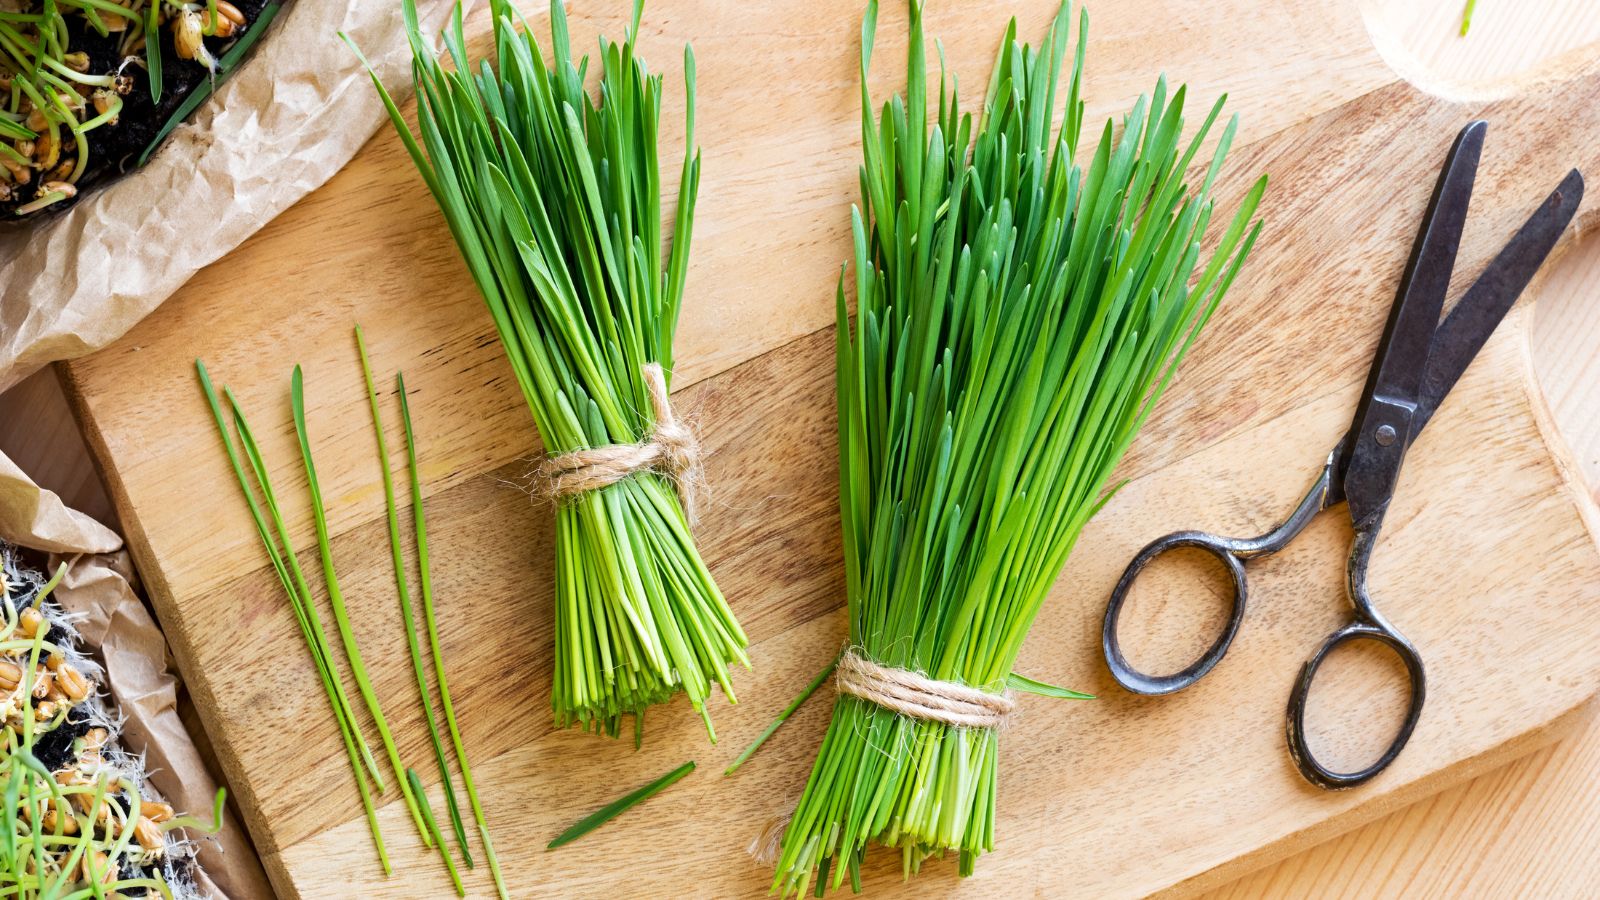
The best time to harvest wheatgrass is when it has reached the jointing stage. At this point, the leaf is beginning to split or form a secondary leaf. This is generally when it’s seven to eight inches in height.
To harvest, I recommend cutting the grass off with a sharp pair of clean scissors just above the root joint or any seed remnants. A super-sharp knife will also work as long as it slices cleanly through the grass without yanking it out.
You can usually get multiple crops out of a particular batch of seeds without noticeable changes in flavor. However, be sure to add a little liquid kelp fertilizer after harvesting to encourage fresh growth. Usually, people get two to three crops off of a given tray before they replant.
Harvesting right before use is the best way to ensure freshness.
Since wheatgrass is a grass rather than a fruit, it can be a bit tricky to extract the juice. A masticating juicer will extract the juice most easily. Centrifugal juicers don’t grind up the grass and release the juice. It takes approximately a quarter cup of grass to make a serving of juice.
Step 6: Store
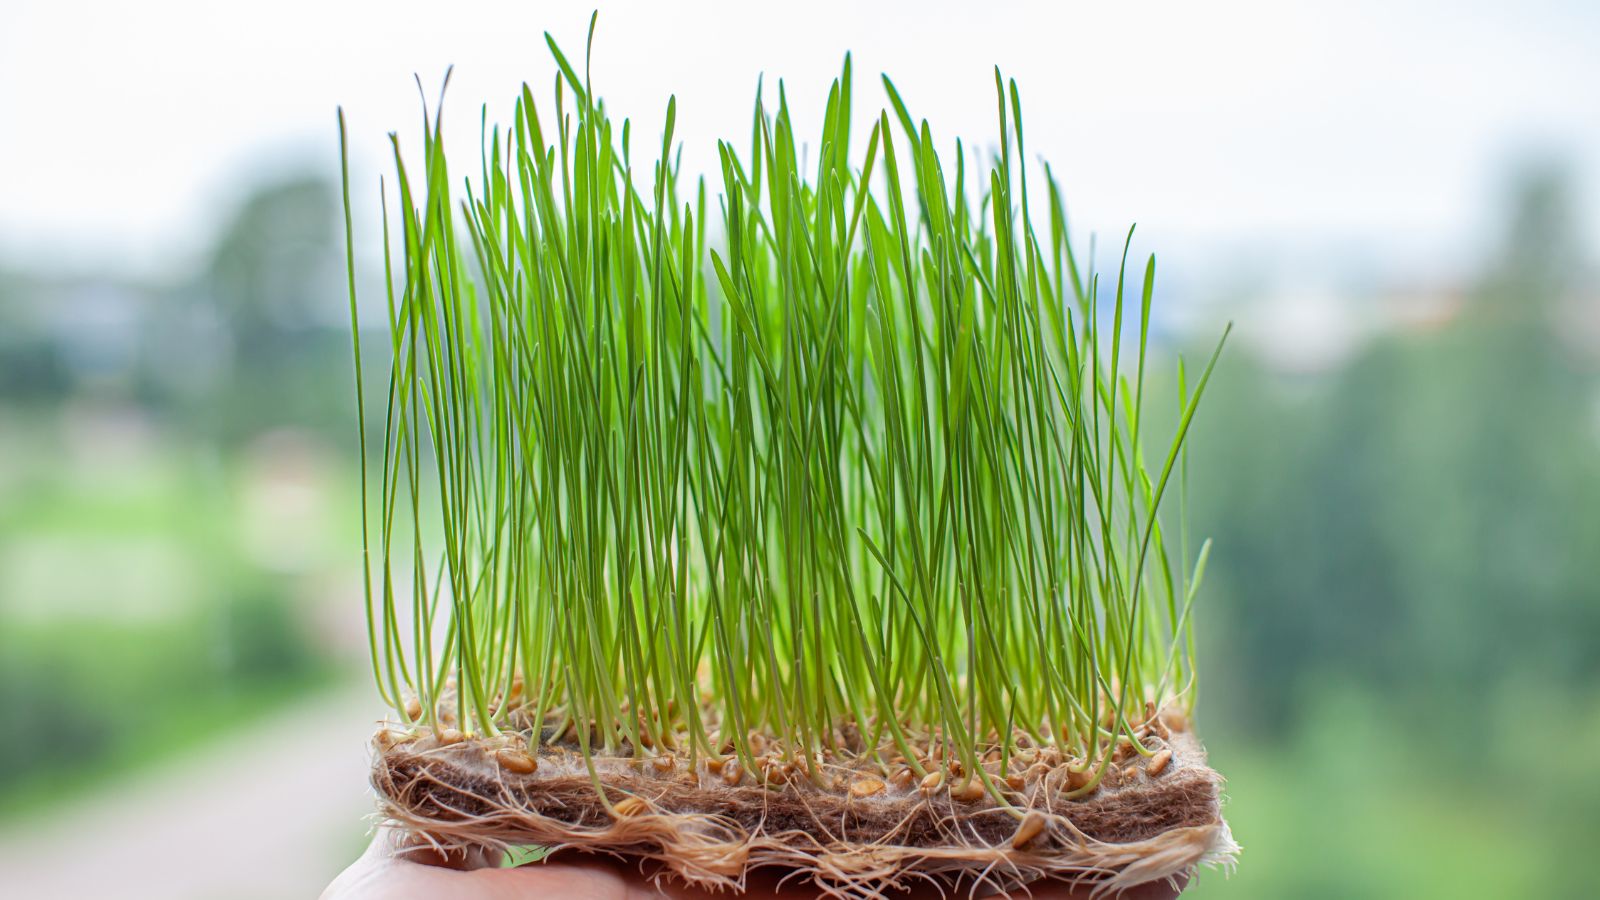
To store wheatgrass, make sure it’s as dry as possible. Dry wheatgrass keeps much better than wet. Put it into a produce bag with a dry paper towel wrapped around the bunch to absorb excess humidity. Use it as quickly as possible so it doesn’t wilt or spoil. It will keep for three to four days like this.
Since a tray is usually ready to be harvested at the same time, you can also juice it all and freeze any excess juice in ice cube trays. These little green cubes can then be tossed into your morning smoothie or glass of fruit juice.
If you’re familiar with wheatgrass powder, you might be interested to know that there’s a way to make this handy additive at home using a dehydrator. Rinse off your wheatgrass thoroughly once you’ve harvested it to be sure there’s no dust on it, then spread the grass out in a thin layer on dehydrator trays.
Once it’s fully dehydrated, you can powder it and store the powder in an airtight container with a desiccant packet to remove any residual moisture. Use it as you would any store-bought powder.


