How to Sharpen Garden Tools in 7 Simple Steps
Unsure of how to keep your garden tools both sharp and saniitized this season? In this article, gardening expert Jenna Rich takes you through each step of properly sharpening your garden tools in just a few simple steps!

Contents
It’s spring, which means it’s time to grow and harvest fruits and veggies. One of the most helpful tasks you can do for yourself is to keep your gardening and harvest tools clean and sharp. Sharpened tools require you to exert less energy, keep your plants healthy, and make gardening more enjoyable.
Most tools you will use on a regular basis will benefit from an annual cleaning, sharpening, and TLC session. They will also last longer if you take care of them. Plus, a dull tool can sometimes be more dangerous than a sharp one.
I’ve included a list of items you’ll need to do at-home sharpening, what tools should be sharpened at least annually, and a general how-to. Let’s dive in.
Garden Tools That Need Sharpened Regularly
Think of all the tools you often use while preparing your garden beds, weeding throughout the year, and harvesting. We ask a lot of them throughout the season, cutting through thick stems, ripping through compacted soil, and moving around heavy soil and compost.
Good tools aren’t cheap, so it’s a good idea to take care of them as best you can in order to keep them in proper working order.
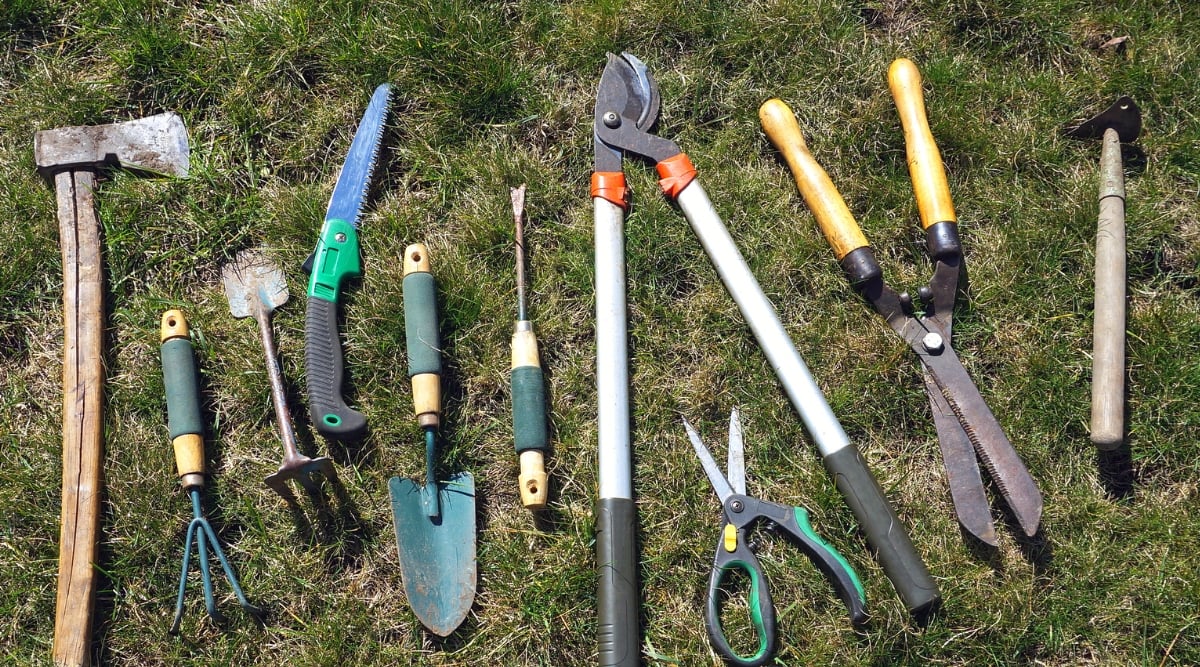
What tools should you clean and sharpen each season? Basically, all of them! Here are some for starters.
Harvest Knives

There’s nothing worse than being set up to harvest only to discover that your blade is too dull to cut the base of a head of lettuce.
If you use harvest knives for cut-and-come-again lettuce mix, broccoli shoots, or other multiple-cut crops, you want to be sure you are making clean cuts. This will help keep disease pressure to a minimum and allow the crop to grow back evenly.
Pruning Shears and Snips

Having a favorite pair of pruning shears is just part of being a farmer or gardener, right? Shears are heavily used on our farm for pruning blueberry bushes, cutting woody flowers, and sometimes even harvesting things like summer squash and zucchini because of their wide opening for the thick stalk. Snips can be used to harvest flowers, tomatoes, basil, and more.
Hand tools – Trowels and Hoes

Trowels and hoes can be overlooked at the end of the season, but if you use them as much as I do, you’ll definitely want to give them some love.
Farming here in beautiful New Hampshire, also known as the Granite State, our tools encounter many rocks and boulders.
Each time we hear the ding of a shovel or find ourselves using the broadfork to wedge a big rock out of a garden bed, our tools become duller and possibly bent.
Step 1: Gather Equipment and Tools

You’ll need the following:
- Tools to be sharpened
- Mill file 8-12 inches long, preferably with a comfortable handle. A bastard or second-cut file will be best for garden tools, depending on how coarse you want your finish to be and how quickly you want to complete the task. A rasp can also be used.
- Whetstone
- Grinder or diamond hone
- Lubricant
- A clean towel
- Safety goggles
Harvest knives, shears, and snips should be sharpened with a whetstone, whereas hoes, shovels, and rakes can be sharpened with a large mill file.
Step 2: Remove Debris

You want to remove any caked-on dirt, dust, or plant debris from your tools to avoid any lingering soil-borne diseases that could be present and avoid the risk of rust forming due to moisture from soil debris or mud. You can remove debris with a heavy-duty wire brush, wire wool, or a clean rag. Smaller tools can be cleaned with an old toothbrush.
Light rust can be removed with a rust-removing block or a wire wheel attached to a household drill. White vinegar will help erode heavy rust when tools are soaked for a few hours or even overnight.
Step 3: Wash and Dry

Simply fill a bucket or sink with warm, soapy water and wash your tools. Swish them around and gently wash them. Then lay them out to fully dry before sharpening. This can be done the night before you plant to sharpen them to ensure they are dry.
Step 4: Sharpen
Secure the tool you want to sharpen using a steady workbench or a clamp. Be sure you are comfortable and that your movements won’t allow your tool to slip and potentially harm you.
Pro tip: Garden tools do not need to be extremely sharp like you would want a kitchen knife to be. It’s more important that the edge is rust and debris free, evenly shaped, and sharpened to like-new condition.
Straight-edge Hoes, Harvest Knives, and Snips

When sharpening your tools, you’ll want to file only in one direction to stay in control, keep your file from getting clogged, and watch your progress to ensure you get the desired result. Move either from left to right or right to left, but never back and forth. As you work, be sure the angle you are creating with your file matches the angle of the tool.
If using a diamond hone to sharpen a knife, hold the knife at about a 5-8° angle against the diamond hone. Be sure to lean the hone on something steady so you can safely work.
Now, keeping the angle steady and applying even pressure downward, make small circles with the knife blade edge, working up and down the length of the knife. Pay close attention to the tip of the knife, which will likely be duller. Generally, you’ll only need to use a fine, coarse hone.
Harvest knives and snips should be pretty sharp when you are done. Keep reading for a tip to tell if your knife is sharp enough.
Pruning Shears

These will be worked on similarly to the hoes and harvest knives, but you want to be more aware of the curve of these tools. Although there are two sides to pruning shears, only the beveled edge should be sharpened.
Holding the shears with one hand, use the other hand to match the angle of the edge to your sharpening file. Drag the file tightly against the blade 4-5 times from back to front, toward your body. Then flip it over and do the same thing on the flat edge to clean up any burrs.
Trowels and Spade Shovels

The tips of trowels and spade shovels need to break through the soil surface, so you don’t want them to be razor-sharp. That would be dangerous. However, they may benefit from a light grind or sanding after heavy use to clean up the edges.
Simply take a flat file and drag it across the edges using even pressure, moving carefully away from your body. A few drags should do it. Ensure there are no obvious divots or dings.
Broadforks
Broadforks are not a tool that needs to be sharpened. However, I list it here because it is an important tool that should be maintained at the end of the season just the same.
Sometimes tines get bent out of shape, so those should be adjusted, handles should be sanded and oiled, and debris should be cleaned off the tines to prepare for the next use.
Step 5: Re-Shape Any Tools in Need

This might be necessary for broadforks, straight-edge hoes, or hand rakes damaged during use last season. This requires more elbow grease and possibly a clamp and a blowtorch. We have very rocky soil where we farm and have experienced a pretty severely bent broadfork tine after hitting a large boulder.
If this happens to you, clamp it in place, heat it up using a hand torch, and then pound it back in the right direction. This can also be done if a spade gets dinged up or a rake tine gets twisted. Just take extra caution when using heat and a mallet.
Pro tip: This is safest done with a partner.
Step 6: Oil

This step has many different oil options, and it’s just personal preference. You can use regular coconut oil or cooking spray if you have those on hand.
Tung and linseed oil work well, but they do dry quickly. Linseed oil is recommended to oil any wooden handles of tools as well. Even walnut oil will work.
Using a clean towel or rag, apply a small amount to all metal surfaces of your newly sharpened tools, ensuring it gets in all the crevices. After oiling pruners or shears, give them a few squeezes after applying the oil to ensure it’s all worked in nicely.
Pro tip: At this time, it’s a good idea to check for any necessary repairs, such as loose bolts, sharp wooden handles that need sanding or taping, or springs that need replacing.
Step 7: Store Tools Properly

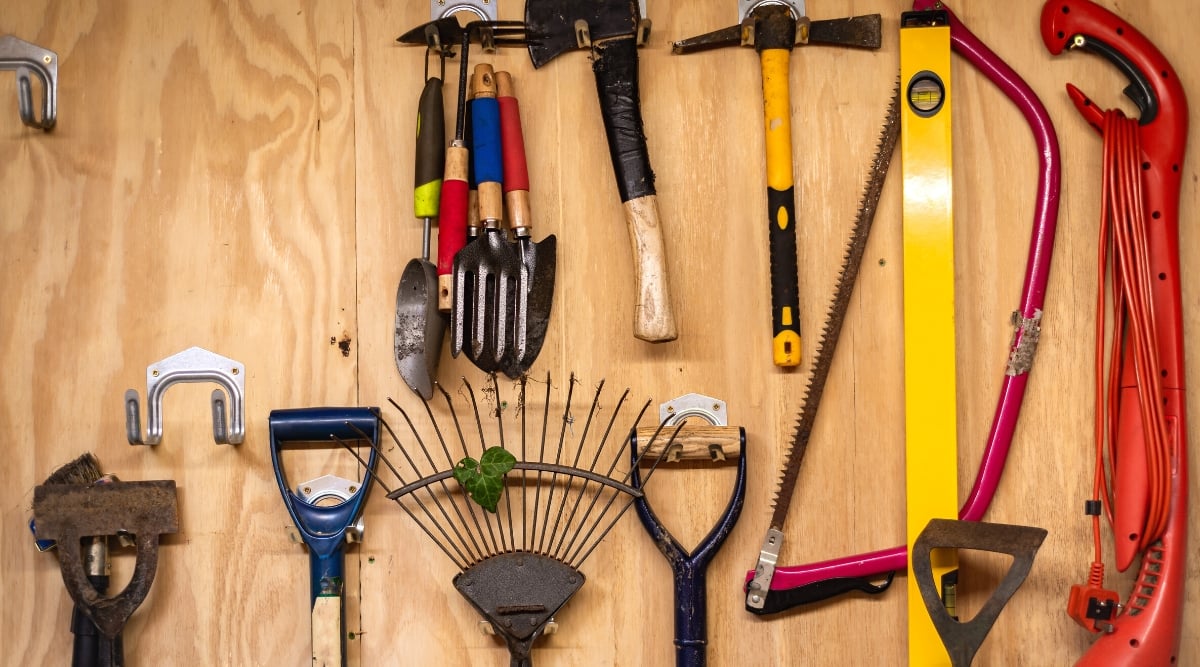
After your tools are cleaned up and sharpened, it’s a good idea to put mineral oil on them before storing them for the season. Store them somewhere they will stay dry and clean when not being used and where they’re easily accessible when you need them. A simple rake rack is a great option because it can hold multiple tools and keeps them off the ground.
Pro tip: We have magnetic knife strips installed on our high tunnel walls and in various places around our farm, which has been very helpful for storage and keeping them in good shape. The strips come in multiple sizes, are strong, and can hold many tools. I highly recommend this!
Storage of tools includes your sharpening files which can be wrapped up in an old towel or clean rag until the next time it’s used.
Frequently Asked Questions
Hold your harvest knife under the light and notice how the light reflects off the blade. If it is inconsistent or you see nicks, it’s time to sharpen. You can also look at the blade from the side and see if any noticeable ding marks need to be worked out.
You can inspect shovels, snips, and shears similarly, flipping the tool around to look at each part of the blade.
Hold a Sharpie at a 45° angle and rest the knife on it. If it sticks in the Sharpie, it’s sharp. If there are some dull, flat edges, it will slide down the Sharpie, and you’ll know where it needs to be sharpened.
An alternative way to test sharpness is to slice a tomato fresh from your garden. A sharp knife should glide right through tomato skin.
This is totally normal! Take a small stiff wire or plastic brush and gently brush your file until you see the metal shavings falling out. Brush until you no longer notice shavings in the file.
Depending on how often and aggressively you use your tools, once a season should suffice. Harvest knives might need a second sharpening session mid-season.
Final Thoughts
That’s it! You’ve successfully cleaned and sharpened your garden tools and are ready for the season. If you are using your tools more than normal, consider completing these tasks more than once per season. Otherwise, once at the end of the year should suffice.
This is something fun and easy enough to learn how to do on your own, and I bet you’ll be glad you did. Just be patient, be careful, and take your time to ensure safety and the proper results.


